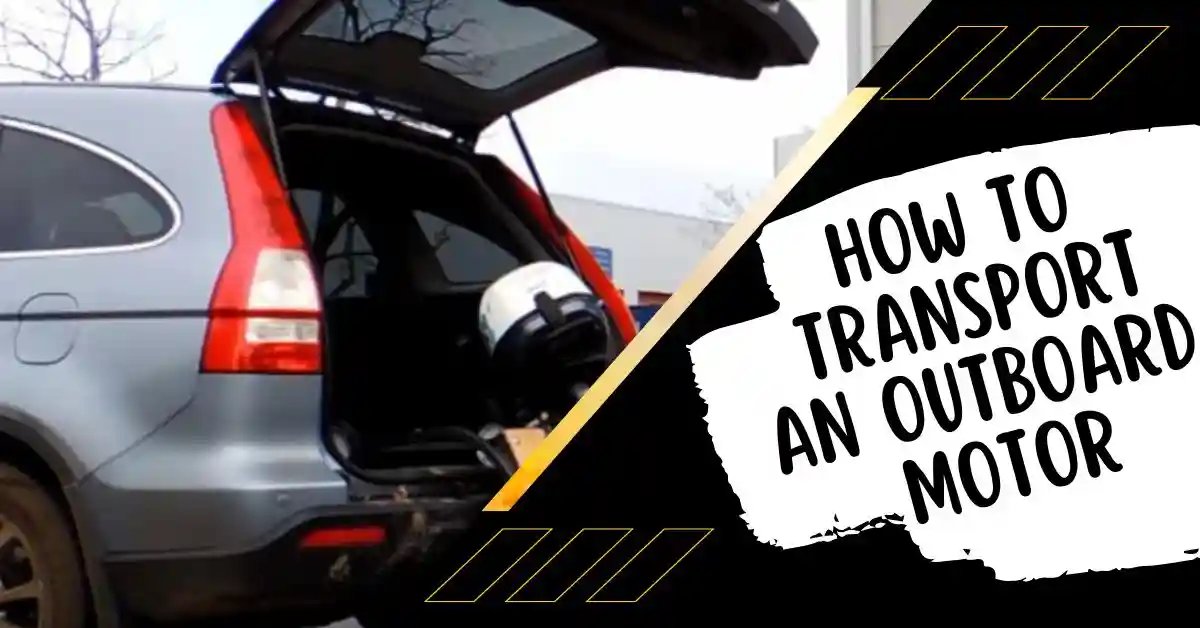
It can be a matter of dilemma when you are trying to transport your outboard engine with a car. And you must be thinking what if the engine goes bad?
So, how to transport an outboard motor?
Well, transporting an outboard motor can be an easy task for you. You need to cut the drain hose off. Then you have to disconnect the hose and attach the motor to the rinse adapter. After that, you need to feel the oil reservoir. Then exit the vehicle and try to release the ignition system wire.
You must be still pretty confused about this matter. Don’t worry this whole article is only to clear your head out. Let’s jump to the details discussion.
Transport An Outboard Motor Step By Step:
In the event, that inboard engines must be brought back to shore. This is typically required at least once per year for storage purposes. Depending upon the model, transporting your outboard motor is best.
Some SVB experts suggest momentarily trying to lay your outboard. On the edge of the tuber’s shoulder. if you must transport it lying face down, with a canister block higher than that of the impeller.
It’s crucial to do this to prevent motor oil leaks while being transported. Decals on certain engines indicate which side must face up during transportation.
In the relevant instruction booklets, you also can obtain info on how to transfer outboard motors. There are specialized ways to carry straps, and transit stands.
And outboard shopping carts that make it much easier to keep moving them to a vehicle or towing.
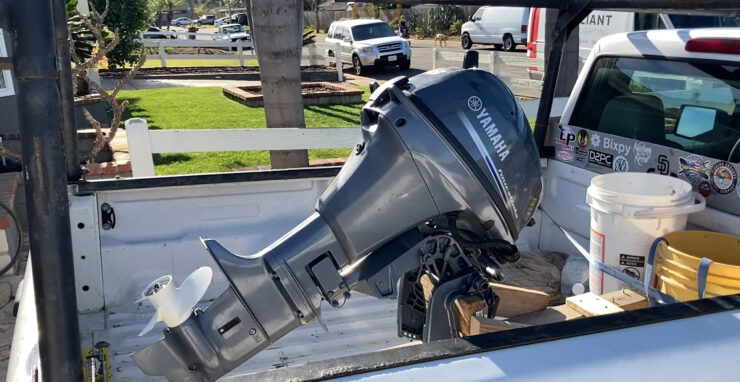
The motor requirements should be taken into account first. What’s the dislocation of the motor? What height is the car?
Even at shoulder height. It is challenging to enter and exit a car without bending your back uncomfort. The not dead load, is the issue.
This matter is kind of like setting the board on the trailer. We show you how to transfer an inflatable dinghy in a vehicle in this guidance.
Many are between 45 and 50 kilograms. The above would include this same box. The stanchions, and anything else they hold. Reduced items, like pillows and life jackets, are easier to store.
Fitting this same outboard into the cowl hood. Without removing the paint from the vehicle will be the most difficult and may not even be feasible.
The dimensions of trolling motors we are thinking about should weigh enough. So that it could mount inside the cowl hood. To prevent the inflatable dinghy from ricocheting.
Which could have unfortunate effects. It would obviously need to be buckled, fastened, or bolted to the floor.
It is not a good idea to lay an inflatable dinghy on its side or back. Cold weather is a season when things like this can occur. You have to remove the condensation moisture from the engine during that time.
Four-stroke motors should always be stashed upright, according to some experts. Who also strongly advises that any other motors follow suit.
For the motor to fully drain, Mercury Marine advises storing it erect. Mercury notes, even so, that after completely draining the water.
A device can be kept on its side. Yamaha and Mariner follow Mercury’s recommendations. Here are some detailed instructions for moving your outboard motor.
Step 1: Cut The Drain Hose Off
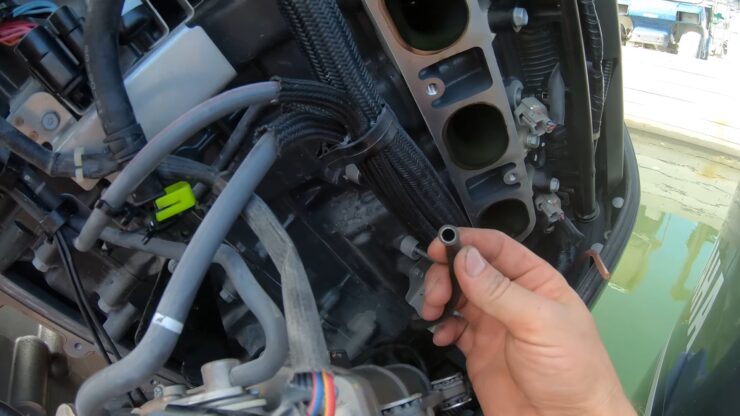
Remove the drain hose from the gaseous spacer tank with your hands (lower right side). Afterward, use an “old fuel” that can drain the tank. Like you do remove gas from the fuel tank.
Use a hammer to unlock the sink bolt on the ship’s left side. And then discharge any excess liquid or gasoline. Close the valve after re-attaching the hose.
Step 2: Disconnect The Hose
The hose must be unplugged from the ship’s lower left side. The sink rivet can then be accessed by opening the ship’s right-hand side. This allows you to drain any leftover energy and moisture.
Screw the nut down. Plug this same sink hose at the end. Take out the fuel filter that keeps water out of the fuel.
Step 03: Attach The Motor to The Rinse Adapter
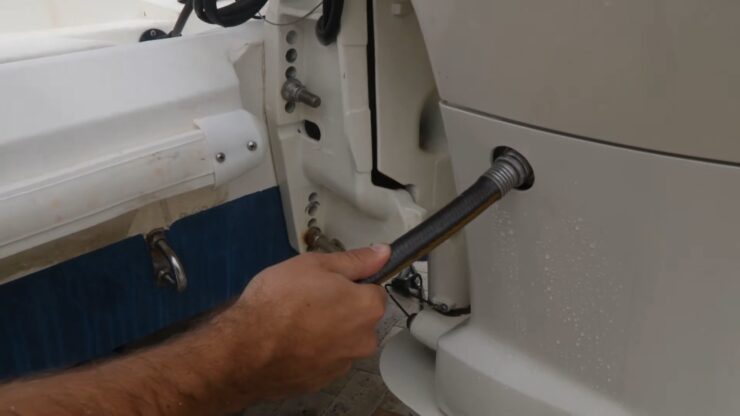
Attach a water hose as well as a rinse dongle to the motor. Making the air conditioning system smooth is the goal. Next, begin the engine and transform on the water.
Step 04: Fill The Oil Reserve
To avoid corrosion from trying to form on the motor bearing, enter the oil pump with fresh oil. It will give the motor bearings a thin shimmer of oil. Give the motor fifteen to twenty minutes to run.
Step 05: Exit The Vehicle
Cut the engine off, and quickly connect this same gas tank and fuel system after cutting the gas line. Carbureted engine should be sprayed with condensation oil. Allow the motor to cool down after that.
Step 06: Twist And Pull The Ignition System Wires to Release Them
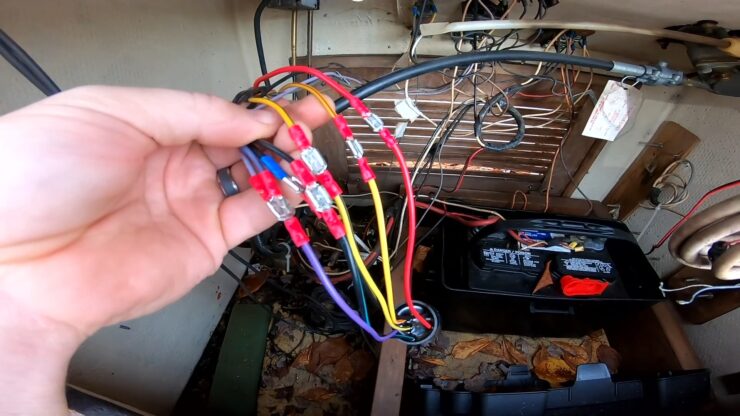
Last but not least, you need to pull and twist the ignition system wires lose. Start by removing the fuel pump from one‘s gaps with an ignition system wrench.
Then mist the cylinders with fogging oil to keep them from the beginning. Your preparations are almost complete. If needed, change the plugs
Unplugging the fast on the oil and fuel storage tank. It is necessary in order to remove the motor from the back of the vessel. Place the machine on its own side with caution.
Excluding the petroleum nozzle. Which ought to be linked to the tank as well as the motor.
Loosen the spark plug wires by twisting and pulling
To prepare your boat engine for winter storage, start by using a spark plug wrench to remove the spark plugs from their holes. Then, spray fogging oil into the cylinders to prevent them from igniting during storage. If the spark plugs are worn out, you may need to replace them before storing the engine.
If you need to remove the engine from the back of the boat, you will need to disconnect the quick-connects on the fuel and oil tanks. However, it’s important to leave the oil hose connected to both the engine and the tank. To access the bottom of the engine and drain the oil and coolant, you can turn the machine on its side with caution.
After draining the fluids and treating the spark plugs with fogging oil, you can cover the engine with a breathable cover to protect it from the elements during the winter months. Always follow the manufacturer’s instructions or consult with a professional to ensure that your engine is properly prepared for winter storage.
FAQs
Which side can you lay a stern?
What side should my inboard motor be positioned on? Metrics on the engine casing of today’s newer handheld outboards show what side users must lay the motor on. It is typically advised to lay one’s inboard on the cruise control side rather than the equipment side if this isn’t the case.
Can I set down my outboard motor?
An inboard motor should never be set down on its back or side. This is particularly true in the cold season whenever the motor needs to be dried out of condensation. Four-stroke engines must be stashed erect, according to Evinrude/Johnson, who also strongly advises this for any other engines.
Is a louvers saver recommended by Mercury?
Many boaters advise using the provider or motor lock on your engine. Although the use of louvers depositors or engine assistance is hotly contested, we do not advise trailering with the engine supported by your assistance lock. Mercurous and Yamaha both advise against it.
How do you store a small outboard motor?
To store a small outboard motor, you should follow these steps:
- Clean the motor: Before storing your outboard motor, you should clean it thoroughly with soap and water to remove any dirt or grime. Then, rinse it with fresh water and allow it to dry completely.
- Change the oil: Drain the oil and replace it with fresh oil. This will help prevent corrosion and damage to the engine while it’s in storage.
- Add fuel stabilizer: Add fuel stabilizer to the gas tank to prevent the fuel from breaking down and causing problems when you try to start the engine again.
- Disconnect the battery: If your outboard motor has a battery, disconnect it to prevent it from draining or freezing.
- Store the motor in a dry and cool place: Store the motor in a dry and cool place, such as a garage or shed, to protect it from the elements. Cover the motor with a breathable cover to prevent dust and debris from accumulating on it.
- Turn the motor over occasionally: If you’re storing the motor for an extended period of time, it’s a good idea to turn it over occasionally to prevent the pistons from seizing. You can do this by manually turning the flywheel or using an electric motor.
Is it OK to leave the outboard tilted up?
Leaving an outboard motor tilted up for short periods of time is generally safe and won’t cause any harm to the motor. In fact, it’s a common practice to tilt the outboard motor up when docking or beaching the boat to protect the motor from damage.
However, if you plan to leave the outboard motor tilted up for an extended period of time, it’s important to take precautions to prevent damage. For example, if the motor is left tilted up in saltwater, it can cause corrosion and damage to the motor’s components. Similarly, if the motor is left tilted up in freezing temperatures, it can cause water in the cooling system to freeze and damage the motor.
On Which Side Should You Lay Your Outboard Motor?
Every manufacturer does things a little differently; not all outboard motors will be the same in this regard.
If it’s okay to lay the motor on its side, the owner’s manual will give this information along with the recommended side you should lay it on. Generally speaking, you will lay it on whichever side is flat.
Again though, it’s best not to lay it on the side unless the manual specifically says you can.
After checking the manual, check the motor as well. Look for diagrams or labels that indicate you can lay on that specific side.
With some motors, you can lay them on either side; with others, you can lay them on one side but not the other. Again, it all depends on the motor’s manufacturer and design.
Is it necessary to winterize an outboard motor?
Yes, it is necessary to winterize an outboard motor if you live in a climate where temperatures drop below freezing. This is because freezing temperatures can cause water in the motor’s cooling system to expand and potentially damage the engine.
Winterizing an outboard motor involves draining the cooling system, fuel system, and oil system, and protecting the motor with antifreeze and lubricants. This process helps prevent any water left in the motor from freezing and causing damage. It also helps protect the motor from rust, corrosion, and other forms of damage that can occur during storage.
Bottom Line
Before transporting an outboard motor on its side, it’s important to refer to the owner’s manual to ensure that it’s safe to do so.
Depending on the style or manufacturer, some outboard motors may need to be drained of fluids or placed on a specific side in order to transport them safely.
Therefore, it’s always best to check the owner’s manual first to avoid any potential damage or safety risks.
Best of luck.
I’m Liam Jackson, the proud owner and driving force behind KayakPaddling.net. Born somewhere in the expansive beauty of the United States, I’ve nurtured a lifelong passion for kayaking and fishing that has led me to explore the far corners of our nation’s waterways.