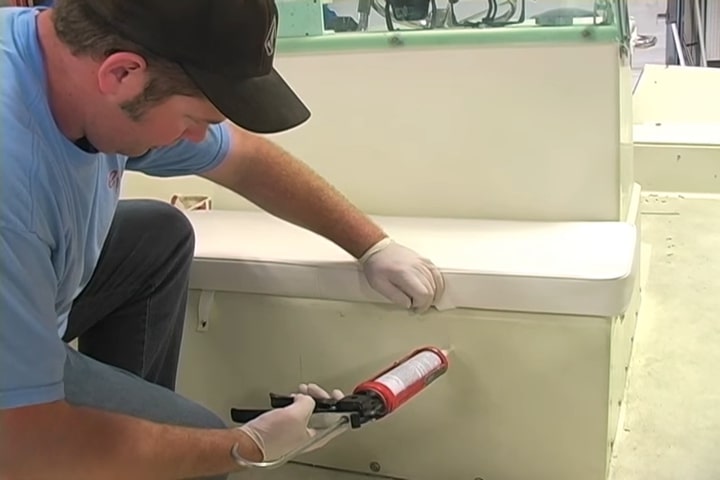
If you are thinking about changing your boat interior, replacing the upholstery skin is the first plan. It is also an important part of the maintenance of your boat. A few tools and proper knowledge can make this work quite hassle-free for you.
So, how you can do boat upholstery replacement skins?
Although the process is a bit longer the steps are quite simple. But you also need to be extra cautious about every step. Firstly you have to remove every layer of staples. For that, you can take the help of a screwdriver. After that choose the perfect-sized foam for your frame. Finally, attach the foam with staples as evenly as possible.
This is not everything about our discussion. We have an entire discussion on this with every detail.
So if you are interested, keep your eyes on the following.
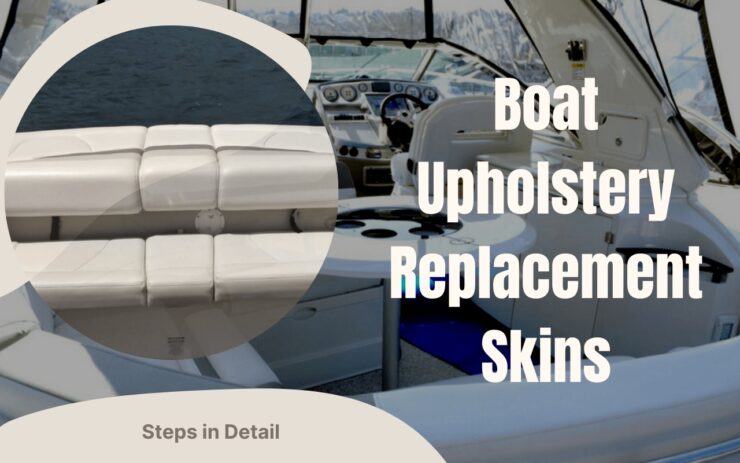
Boat Upholstery Replacement Skins: 5 Simple Steps
If we talk about boat upholstery skin replacement, refers to replacing the seat skin. The best part is you can do it on your own without taking any professional help. The steps are pretty simple.
So let’s not make any delay and jump right into the details.
Step 1: Staple Pin Removing
First, you have to turn your fitted boat seat cover on which you want to make the replacement. On the back side of the seat where the skin is attached, you will find a strap. The strap is being used for hiding all the staples.
So before removing all the staples, you have to remove the strap first. You can use a sharp screwdriver head or any sharp tool to remove the strap. On the strap, you will find the first series of staples which you have to remove.
For removing that push the pin heads against something harder so that it easily came out through the other side.
Step 2: Removing the Back Sheet
Next, you have to remove the second series of staples which is attaching the plastic wrapper. The plastic wrapper is hiding the wooden frame of the seat. Use a screwdriver or staple remover for removing the staples.
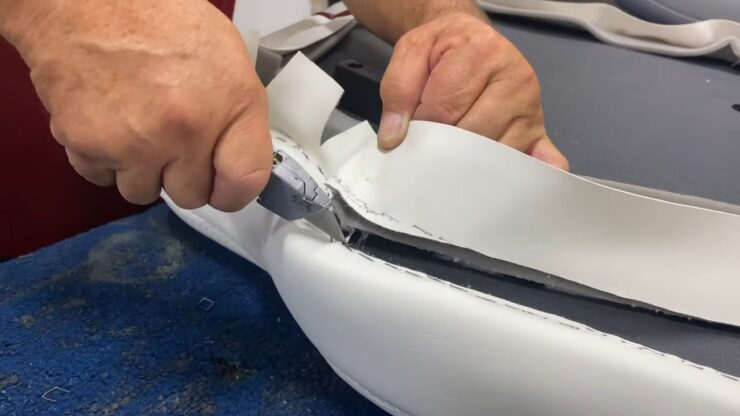
After removing the staples, you can take the plastic wrapper off. Now it’s time for removing the final set of staples securing the main leather skin.
Be careful in this part as the staples are hardly attached to this part. And also you don’t want to break the frame of the seat. That is why use a flat-head staple remover. And start removing staples from a corner. Then it would be easier to remove the staples from the rest of the sides.
After that, remove the leather skin from the seat. If it is sticky in any part due to previous glue, use a hair dryer to heat the place. That would be removable easily after heating.
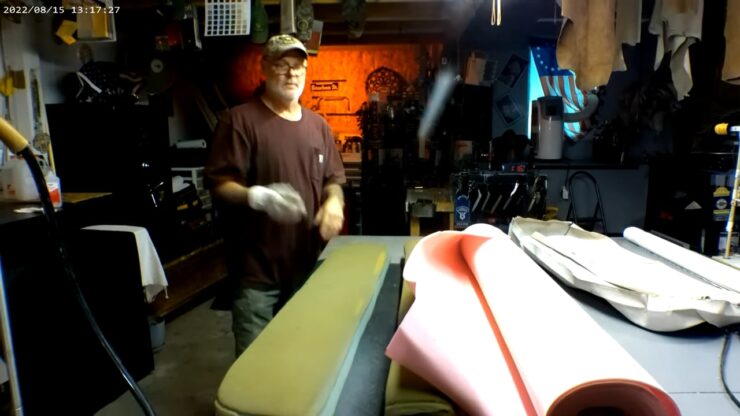
Step 3: Attaching Seat Cushion
Next, bring out the perfect piece of foam or bedding for the seat frame. Make sure it is the exact size that aligns with the frame size. You can also take the measurement from the previous one if that is in the condition of measuring.
Now it’s time for setting the skin. First, you have to place the bedding on the board and then cover the bedding with the skin. Make sure the skin is 2-4 inches extra than the actual measurement.
So that you can staple it with the frame.
Now cover the frame and the seat bedding with the skin. You can also use neoprene boat seat covers here. Start stapling from the straight side. Use a staple gun to staple this time.
Make sure you are stapling the straight side first. So that you can hold the skin to the frame primarily.
It would be helpful for you if you can learn how to build a boat seat box.
Step 4: Assembling the Corners
Now it’s time for the bent corner. The trick for the corner is to pull and staple as there is some extra skin there. That way you can make the surface even from the outer side. That way you can stretch away all the excess material.
You will find some creases on the outer side of the seat due to access material. Don’t worry. You have to heat the surface with a dryer so the creases get even away.
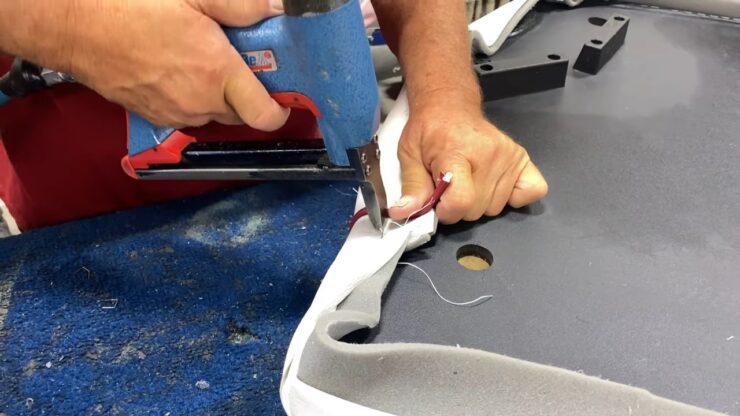
It is very important to have extra skin material underneath. That way you have a chance to make more Pleiades and even out the surface. After pulling and stapling the part, get rid of the extra skin.
Use as many staples as you need to even out the Pleiades. Now we will cover up the staples with another leather sheet from the backward. And will secure the skin with a hard strap all around the sheet.
So first we will staple the sheet using the staple gun over the first batch of staples.
Step 5: Final Setting
Now it’s time for setting the stripe on top of it. The strap is quite stiff and you have to staple it exactly in the middle of it.
Here the trick is to use the hair dryer again to heat up the strap. It will reduce the stiffness of the strap. Now use a shoehorn to open the strap. You have to staple it inside the stripe. The staples won’t be visible that way.
Finally, after stapling the whole stripe, you can check if the is any unevenness in the front part. If not then you are done replacing the skin.
Sometimes it will be helpful for you if you know how to build a boat seat box.
Here are a few products including boat seat upholstery kits for making your job easier.
Hope you found the products helpful enough during the replacement journey.
How to Reupholster Boat Seats without Sewing the Covers

Instead of sewing, you will use a staple gun. It’s a tried-and-true approach that almost anyone may use without the need for an expensive industrial sewing machine or sewing experience.
You can get really good results with this, and for the person who isn’t comfortable using a sewing machine, it can be quicker and easier.
What you will need:
- Marine-grade vinyl
- Foam padding
- Screwdriver
- China marker/grease pencils
- Sewing scissors
- Industrial stapler or carpet tacker with staples
Step 1: Measure up your vinyl and foam
You will use your existing boat seat covers as templates to cut the new vinyl.
You can prepare by removing one cushion and seat from your pontoon boat and disassembling it with a screwdriver to extract the current staples out from below.
Take the old vinyl and spread it out on the floor. Inspect the foam padding as well. If there is water damage, the padding may also need to be replaced.
By doing so, you should be able to calculate how much marine vinyl and foam are needed for your DIY seat upholstery project – then go and order it.
Step 2: Buy the right-sized vinyl and foam
Amazon is where I get my marine vinyl. Go here for replacement vinyl costs to see the product I have previously used. It’s UV-resistant, water-resistant, extremely durable, and available in a variety of colors.
I would avoid darker vinyl covers because they absorb heat and can get very hot to sit on. As a result, the majority of boat seats are white, creams, and lighter tones.
If the foam has to be replaced, you can measure it and order it from Amazon again. I recommend a fire-resistant foam that is easy to cut and has a long life.
All of those requirements are met by AK Trading upholstery foam, which can be purchased on a roll and then cut to size.
Step 3: Lay your new marine vinyl flat
Marine-grade vinyl for reupholstering boat seats is frequently sold in rolls. That’s fantastic for the delivery person, but not so much for you!
Unroll it and lay it flat with some weights on the ends once you’ve received it. If you can let it in the sun for about 30 minutes, it will be easier to work with and will make extending over the seat construction in the next sections much easier.
Step 4: Use the old vinyl as a template to cut the new
Take your old boat seat cover and lay it face down onto the new vinyl. Using your grease pencil, make a trace around it as close as you can get to be a 100% accurate copy.
Step 5: Place the foam and seat base onto the vinyl
Fresh foam is optional because it depended on how bad the old thing was and whether it needed to be replaced. If it does need to be replaced, repeat the template cutting technique to acquire the proper form and size.
Depending on how thick the foam is, you may need to use an electric or Stanley knife, as scissors may not cut it well.
The technique with old or new foam is the same; simply insert the foam padding in the center of the newly cut set cover, and then place the wooden seat base on top of the foam.
Step 6: Pull the vinyl tight and staple it into place
Lean down and bring the front edge of the new cover up towards you and over the front of the wooden section, looking down onto the new seat arrangement. Extend it as far as you possibly can.
Start stapling through the vinyl into the wood with your industrial carpet stapler or tack gun.
To keep the front vinyl part in place and properly stretched, staple a couple of staples in first to keep it in place so you can return to it later and punch a staple every 2 cm to make it more secure.
You can now repeat this process with the back end of the seat cover, then the two opposite ends, just stapling them into position first with the vinyl pulled as tight as possible.
No start flipping the seat around so that you can place more staples in, with those 2cm gaps I spoke about.
And that’s it – you should now have new and fresh-looking seat covers!
Step 7: Apply some vinyl protection spray
The vinyl I recommend is weatherproof, but a little more protection with 303 can help if you want them to possibly last even longer!
FAQs
What is the approximate cost of reupholstering boat seats?
If you want to make the replacement in a professional place, you have to pay on an hourly basis. Most of the shops charge around $50-$150 per hour. You have to spend about $90-$100 for a 24″ x 24″ seat. The cost will increase by around $300 for a 24″ x 96″ seat. But mostly it varies due to the service provider.
How time-consuming are reupholstering boat seats?
If you are doing the replacement by a service provider, the time would be counted hourly. It would take more time if you decide to do it by yourself as a non-professional. Also, it will vary from place to place. For example, if you are replacing the seat cushion it will take one hour or two professionals.
How to restore the faded sun-damaged seats of a boat?
First, you have to vacuum away all the loose dirt and dust. Next, wash the seats with soap or detergent and warm water. Dry the seats properly with a towel. Evenly spray vinyl paint onto the vinyl seats. And finally, wipe out the seats again gently with a soft towel. That way you can easily restore the faded seats.
How do you fix tears in boat upholstery?
To fix tears in boat upholstery, you can use a vinyl repair kit or patch the damaged area with a piece of matching vinyl.
Clean the area around the tear with rubbing alcohol and use a vinyl adhesive to glue the patch in place. You can also use a heat gun or hair dryer to help the patch conform to the shape of the cushion.
If the tear is too large to repair, you may need to replace the entire cushion or seek the help of a professional upholstery service.
What is the best material for boat cushions?
The best material for boat cushions depends on the specific needs and preferences of the boat owner. However, some popular options include marine-grade vinyl, Sunbrella fabric, and closed-cell foam. Marine-grade vinyl is a durable and waterproof material that is easy to clean and maintain.
Sunbrella fabric is also durable and resistant to water, mildew, and UV rays, making it a good choice for outdoor use.
Closed-cell foam is a popular cushioning material for boats because it is waterproof and resistant to mildew, mold, and bacteria. Ultimately, the best material for boat cushions will depend on factors such as durability, comfort, and resistance to the elements.
Final Word
We hope we could solve all your doubts regarding boat upholstery replacement skins. The steps are pretty simple if you can follow them accordingly.
One last tip for you, be careful with staple guns and also staple pins. One carelessness can cause unwanted accidents.
That is everything this time.
Have a great day!
I’m Liam Jackson, the proud owner and driving force behind KayakPaddling.net. Born somewhere in the expansive beauty of the United States, I’ve nurtured a lifelong passion for kayaking and fishing that has led me to explore the far corners of our nation’s waterways.